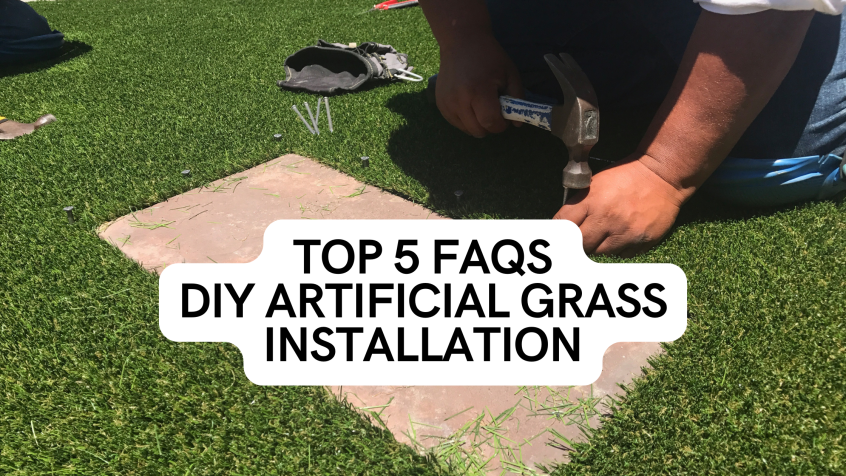
Installing artificial grass yourself can save thousands in labor costs and give you the satisfaction of a project well done. With the right tools and preparation, you can achieve a professional-looking lawn that lasts for years.
This DIY FAQ covers the most common installation questions — from the base layer to infill — so you can start with confidence.
For a complete installation walkthrough, visit our Smart Turf DIY Installation Page.
Q1: What’s Under Artificial Turf? Best Base Material & Compaction Depth
Short Answer: A strong, well-draining base is the foundation of a successful turf installation.
-
Best Base Material:
-
Crushed rock (Class II road base) or decomposed granite.
-
These materials compact well, allow drainage, and prevent uneven settling.
-
-
Compaction Depth:
-
Remove 3–4 inches of existing soil.
-
Lay your base material in layers, compacting each with a plate compactor.
-
Achieve 90–95% compaction for a firm, stable surface.
-
Pro Tip: Install the weed barrier beneath the base layer so any weed growth won’t disturb the compacted foundation.

Q2: What’s the Simplest Way to Cut Turf?
Short Answer: Always cut from the back of the turf for cleaner lines.
-
Use a sharp utility knife or carpet knife.
-
Follow the stitch rows on the backing to guide your cut.
-
Replace blades often — dull blades cause frayed edges.
Why Cut from the Back?
Cutting from the back lets you see the stitch rows clearly and avoids damaging the turf fibers on top.
Q3: How Do I Cut and Fit Turf Around Borders, Rocks, or Curves?
Short Answer: Use small, controlled cuts to shape turf around obstacles.
-
Borders & Edges: Lay turf slightly over the edge, then trim gradually for a snug fit.
-
Rocks & Trees: Make relief cuts (short slits) toward the obstacle, then trim excess.
-
Curves: Cut in small increments instead of one large cut for better accuracy.
Pro Tip: If you’re fitting turf against pavers or concrete, leave a ¼–½ inch gap for expansion during temperature changes.
Q4: Seam Tape vs. Nails — Which Is Better?
Short Answer: Seam tape provides stronger, cleaner joins, especially for visible areas.
-
Seam Tape:
-
Used with turf adhesive to bond two pieces.
-
Creates an invisible join that won’t pull apart easily.
-
Ideal for high-traffic or visible seams.
-
-
Nails/Staples:
-
Faster and cheaper.
-
Can allow slight separation over time.
-
Best for hidden or secondary seams.
-
Best Practice: Use seam tape + nails for maximum strength and appearance.

Q5: How Do I Know If I’m Using Enough Infill?
Short Answer: Infill should fully support the turf blades without overfilling.
-
General Rule: 1–2 lbs of infill per square foot, depending on blade height.
-
Signs You Need More:
-
Blades look flat or matted.
-
Turf feels too soft or bouncy.
-
Fibers don’t spring back after walking.
-
-
Measuring: Spread infill evenly with a drop spreader, then brush with a power broom or stiff rake.
Pro Tip: For pet installations, use antimicrobial infill to control odors and complement Smart Turf’s built-in Microban® protection.
Why Smart Turf Makes DIY Installation Easier
Smart Turf isn’t just another artificial grass brand — it’s engineered for better performance and easier installation:
-
Built-in Microban® Antimicrobial Technology: Inhibits bacteria, mold, and mildew growth, reducing odors by up to 99%.
-
Consistent Blade Structure: Makes cutting and seaming easier.
-
Professional-Grade Backing: Resists stretching and wrinkling during installation.
Installation Mistakes to Avoid
-
Skipping Compaction: Leads to uneven surfaces and poor drainage.
-
Using the Wrong Blade: Dull knives cause frayed turf edges.
-
Skipping Seam Tape on Main Seams: Results in visible gaps.
-
Over or Under Infill: Impacts appearance, drainage, and performance.
FAQs — Quick Reference
Q: What’s the best base for artificial grass?
A: Compacted crushed rock or decomposed granite, 3–4 inches deep.
Q: How do you cut turf for best results?
A: Cut from the back using a sharp utility knife, following stitch rows.
Q: How do you fit turf around obstacles?
A: Make relief cuts toward the object, then trim for a snug fit.
Q: Is seam tape better than nails?
A: Yes, for visible seams. Nails are faster but can allow separation.
Q: How do I know if I have enough infill?
A: Blades should stand upright and feel supported without excess material.
Conclusion
DIY turf installation is a rewarding project that can transform your yard in a weekend. By choosing the right base, cutting carefully, securing seams properly, and applying the correct amount of infill, you’ll create a professional-quality lawn that lasts.
With Smart Turf’s Microban® antimicrobial protection, you get a pet- and family-friendly lawn that stays cleaner, fresher, and safer — and looks great for years.
📌 Get your DIY guide and materials here: Smart Turf DIY Installation

