

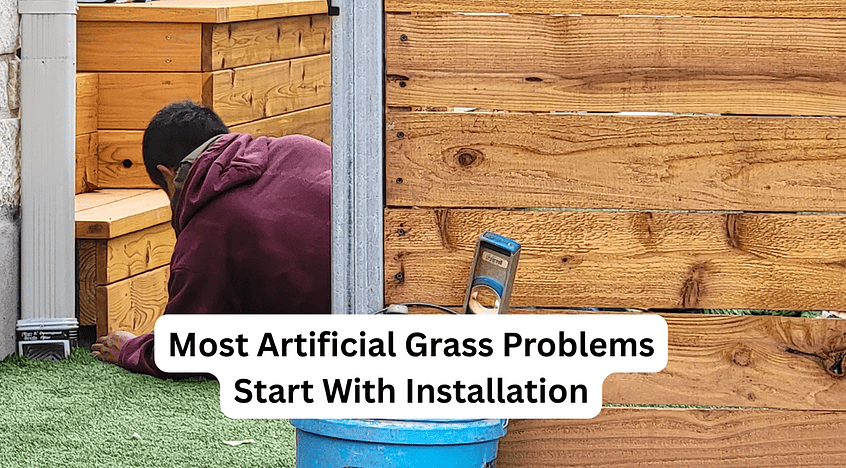
When homeowners run into issues with artificial grass — uneven surfaces, drainage problems, or early wear — it’s easy to assume the turf itself is the problem.
But in many cases, the real cause is something less visible:
How the turf was installed.
Artificial grass is a system, not just a surface. And how that system is built underneath plays a major role in how it performs over time.
Many common turf issues can be traced back to how the base, drainage, and installation were handled. For a full breakdown of what can go wrong and how to avoid it, see our guide to common problems with artificial grass and how to avoid them.
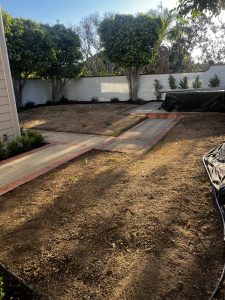
Artificial Grass Starts Below the Surface
What you see — the turf — is only part of the system.
What matters just as much is what’s underneath:
-
The base layer
-
Compaction
-
Grading and slope
-
Drainage design
If these elements are done correctly, the turf above tends to perform well. If they’re rushed or skipped, issues can develop over time.
Why Installation Impacts Long-Term Performance
Artificial grass isn’t just laid on top of the ground. It depends on a properly prepared foundation to stay stable and functional.
When installation isn’t handled carefully, homeowners may notice:
-
Bumps or uneven areas
-
Water pooling after rain
-
Edges lifting or seams separating
-
Faster wear in high-traffic zones
These issues often take time to appear, which is why they can be surprising.
DIY Installation vs Professional Installation
Many homeowners research artificial grass because they’re considering a DIY installation — and in some cases, that can work well.
The key difference isn’t whether the project is DIY or professional — it’s whether the process is done thoroughly and correctly.
For DIY installations, success usually comes down to:
-
Taking time with base preparation
-
Using the right materials
-
Following proper grading and compaction steps
-
Understanding drainage requirements
Homeowners who approach installation carefully and methodically often have much better results than those who rush the process.
Where Problems Usually Begin
Most artificial grass issues can be traced back to a few core steps:
Base Preparation
If the ground isn’t leveled and compacted properly, the surface can shift over time. 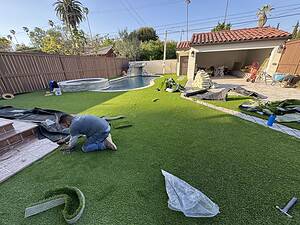
Drainage Planning
Without proper drainage, moisture can collect beneath the turf, leading to odor or usability issues.
Edge Restraints and Seams
Improperly secured edges or seams can loosen, especially with regular use.
Material Selection
Using turf that doesn’t match the intended use (pets, heavy traffic, etc.) can affect long-term performance.
Installation Is About Consistency
Artificial grass performs best when the system is consistent from the ground up.
That means:
-
Even base layers
-
Proper compaction
-
Smooth transitions between sections
-
Secure edges and seams
Small inconsistencies during installation can become noticeable over time.
What This Means for Homeowners
Understanding the role of installation doesn’t mean artificial grass is difficult — it simply means the details matter.
For homeowners considering DIY installation:
-
Taking the time to learn the process is key
-
Following best practices improves long-term results
-
Planning ahead helps prevent common issues
For those working with installers:
-
Asking about base prep and drainage is important
-
Understanding the process builds confidence in the result
Final Thought
Most artificial grass problems don’t start with the turf — they start with how the system is built underneath it.
Whether installing it yourself or working with a professional, paying attention to preparation, drainage, and detail makes all the difference in how artificial grass performs over time.